Intro
Owning your own domain is a thing, setting up email on your own domain can be another.
In this guide, we will be setting up a free email service for our own domain which might help you to have a costless setup for sending and receiving email using the free-tier service of both providers.
Note: I will use my email [email protected] as an example in this post.
Prerequisites
Here are the things that should be prepared:
- Domain and DNS zone managed by Cloudflare and account with access to Cloudflare Email Routing
- Mailjet account
- Public email account for sending and receiving email like gmail, hotmail, outlook, etc.
- Some mail provider won’t display messages that were sent from the same address. So you might need to use different address for sending and receiving the email. This is useful specifically during the verification process.
Setup
Here are the steps to setup both receive and sending mail to and from address in your own domain.
Cloudflare Email Routing for Email Receiving
Route email sent to your domain to your free email providers like gmail,live,icloud,etc by following this Cloudflare Email Routing docs. Verify the address by checking in your free email provider inbox.
In the email security records, set the TXT record used for DMARC record in your domain. You can usually find it under this URL.
https://dash.cloudflare.com/<account-id>>/<website-name>/email/dmarc-management/dns. Replace the<account-id>>/<website-name>with your own.Create new DNS TXT record for SPF to ensure the email sent from mailjet is allowed to send email on behalf of your domain.
"v=spf1 include:spf.mailjet.com include:_spf.mx.cloudflare.net ~all"Test to check receive is okay by sending email to your address. In my case the source address is
[email protected]and the destination address is[email protected]which is forwarded to my personal gmail account.
receive email from cloudflare email routing
MailJet as SMTP Relay for Email Sending
Validate your domain so you can legitimately send email using its addresses by following this guide
For the validation method, ensure that you use DNS validation method. This will require you to set DNS TXT record in your zone.
Ensure that you also set DNS TXT record for DKIM . Check the required values from the MailJet. Usually you can check it from https://app.mailjet.com/account/sender?type=auth
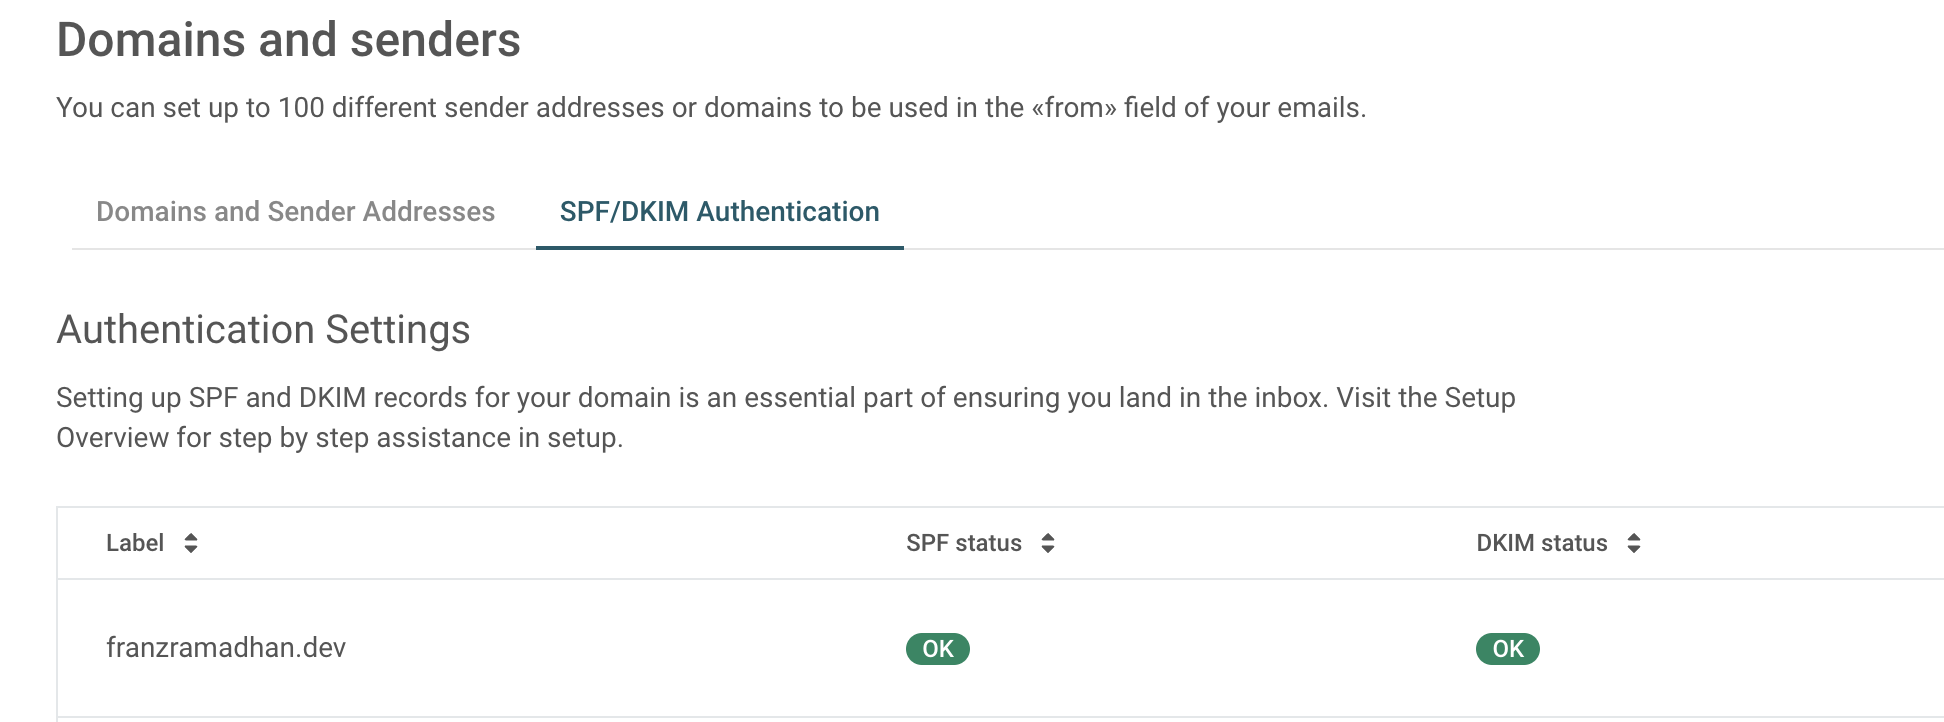
Once it’s set, you will get status like this.

mailjet dkim and spf status Generate and get the SMTP relay setting and credential from https://app.mailjet.com/account/relay . Take a note in a save place like secret manager for the
Secret Key. This will only be shown once.
mailjet smtp config In Gmail, you can send using alternate address and custom credential by going to account settings https://mail.google.com/mail/u/0/#settings/accounts ->
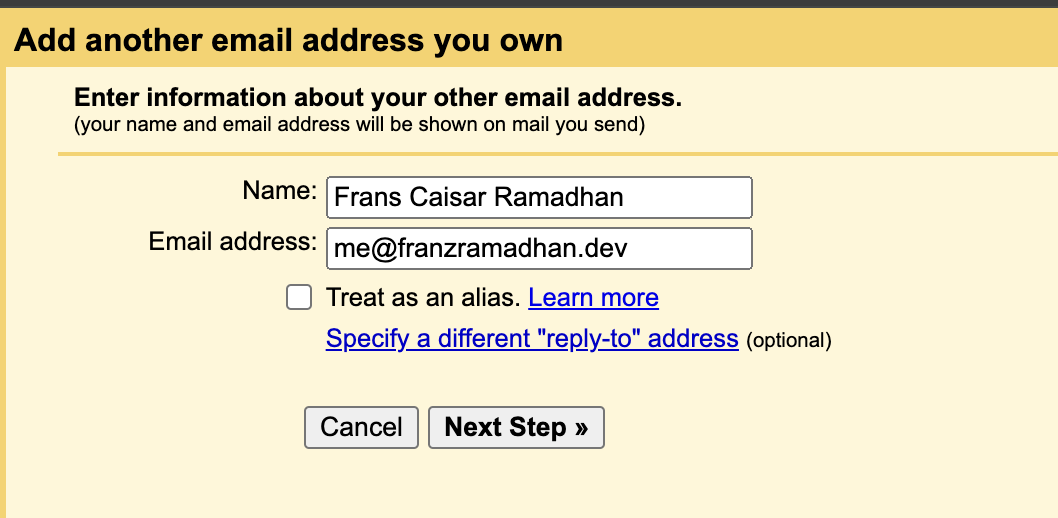
Send mail as-> ClickAdd another email addressIn the name and email. Fill your name and email address that you want to use as alternate sending address. Ensure the
Treat as an aliasbox is unchecked.
gmail set alternate sending address In the
Send mail through your SMTP serverstep, Fill theSMTP Serverwithin-v3.mailjet.com,Portwith587,UsernamewithMailJet API Key, andPasswordwithMailjet Secret Key. Always use recommended setting to use TLS over SSL. Save the changes once it is completed.
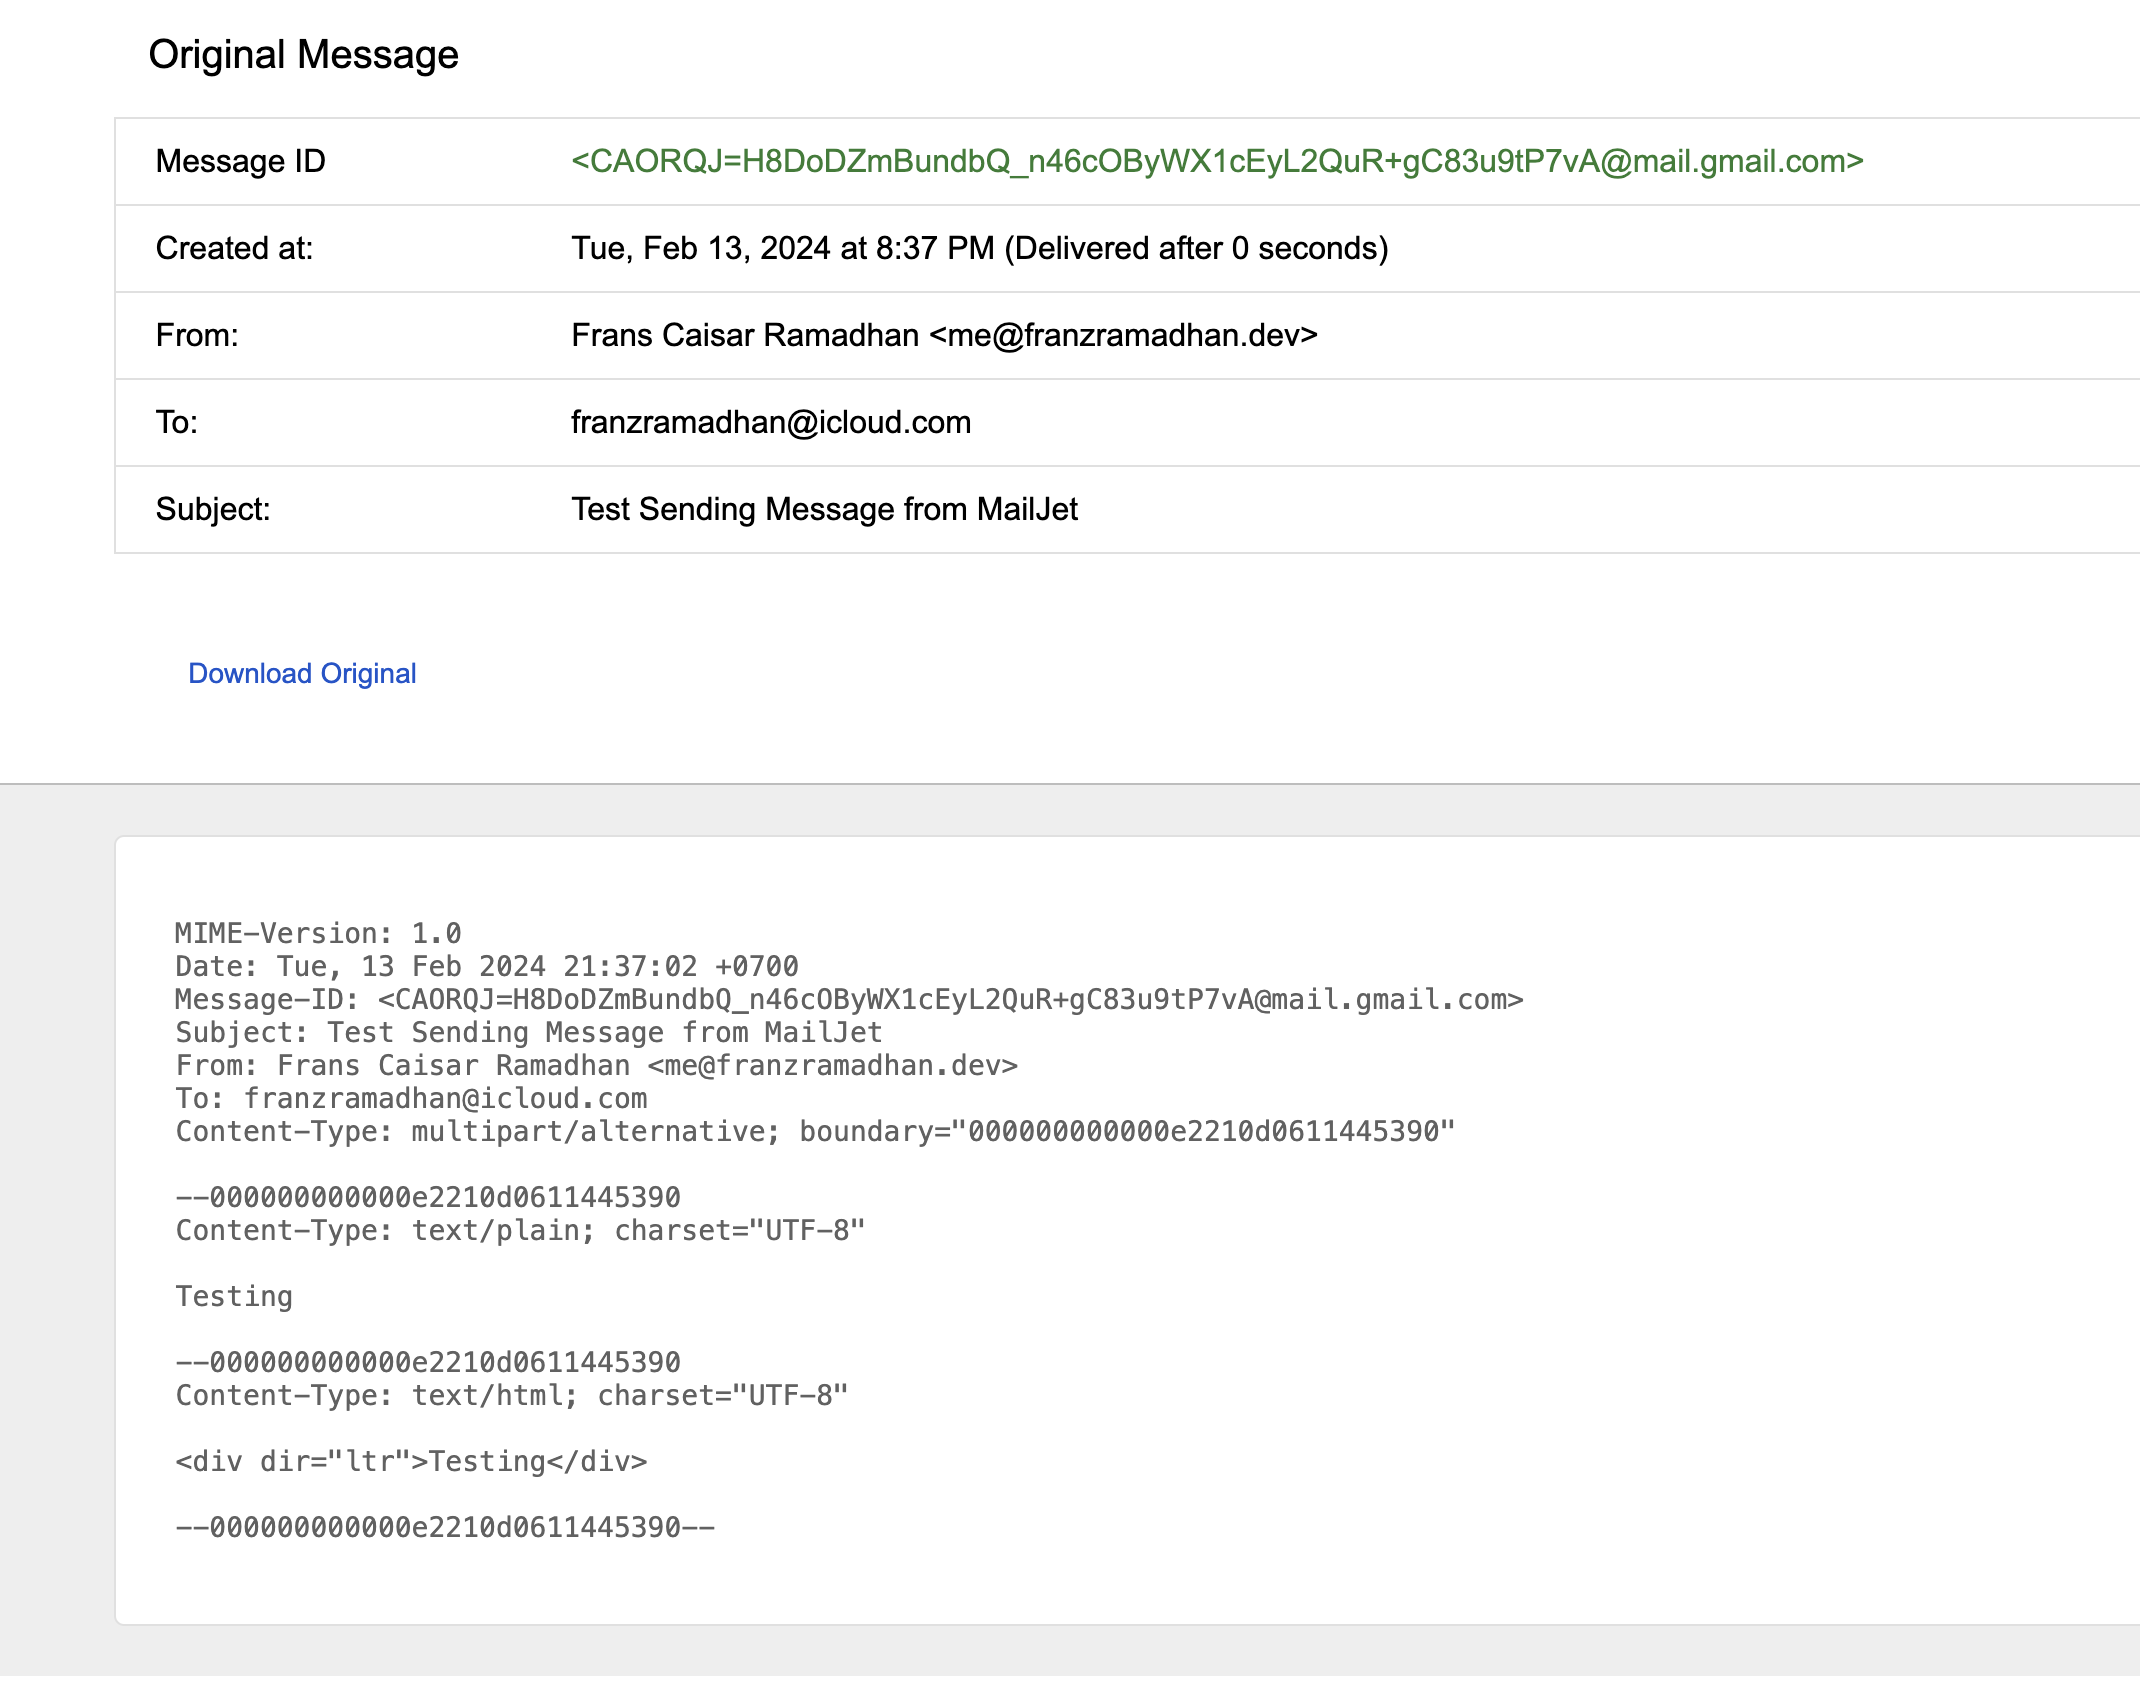
gmail set smtp relay credential Once it is done, test to send email from your own address. In this example I sent email from
[email protected]to[email protected].
email sent from gmail using alternate address 
complete header for received email As seen in picture below, the mail sending also passed SPF, DMARC, and DKIM validation. So our address should be marked as legitimate and have less chance to make the messages sent by our own address to be marked as spam.

spf,dmarc,and dkim validation status
Outro
By following above setup, now you have successfully configured email in your own domain using Cloudflare Email Routing and Mailjet and you can enjoy up to 200 free daily email sending with up to 100 alternate addresses via MailJet. As well as 200 email routing rules and addresses for email receiving using Cloudflare Email Routing feature. Hopefully this can be useful for you.